Knitting is essentially making loops out of yarn and pulling new loops through the first loops. With the loops held on a needle, we work to form new loops either with the yarn held on the back of the needle, the far side, or the yarn held at the front of the needle, the near side. When we form new loops with the yarn at the back of the needle, we call these knit stitches. When we form new loops with the yarn at the front of the needle, we call these purl stitches. These are essentially the same except for where the yarn is held and carried from stitch to stitch.
You will start by learning the knit stitch. 1. Look at the pictures below.
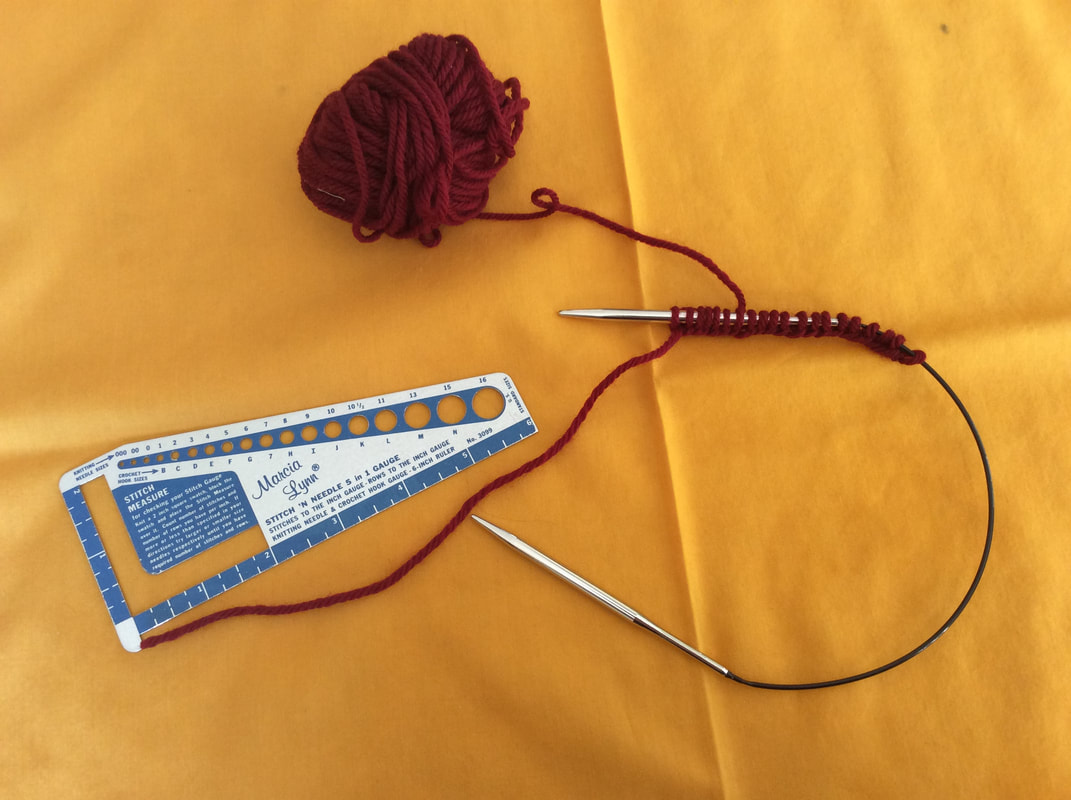
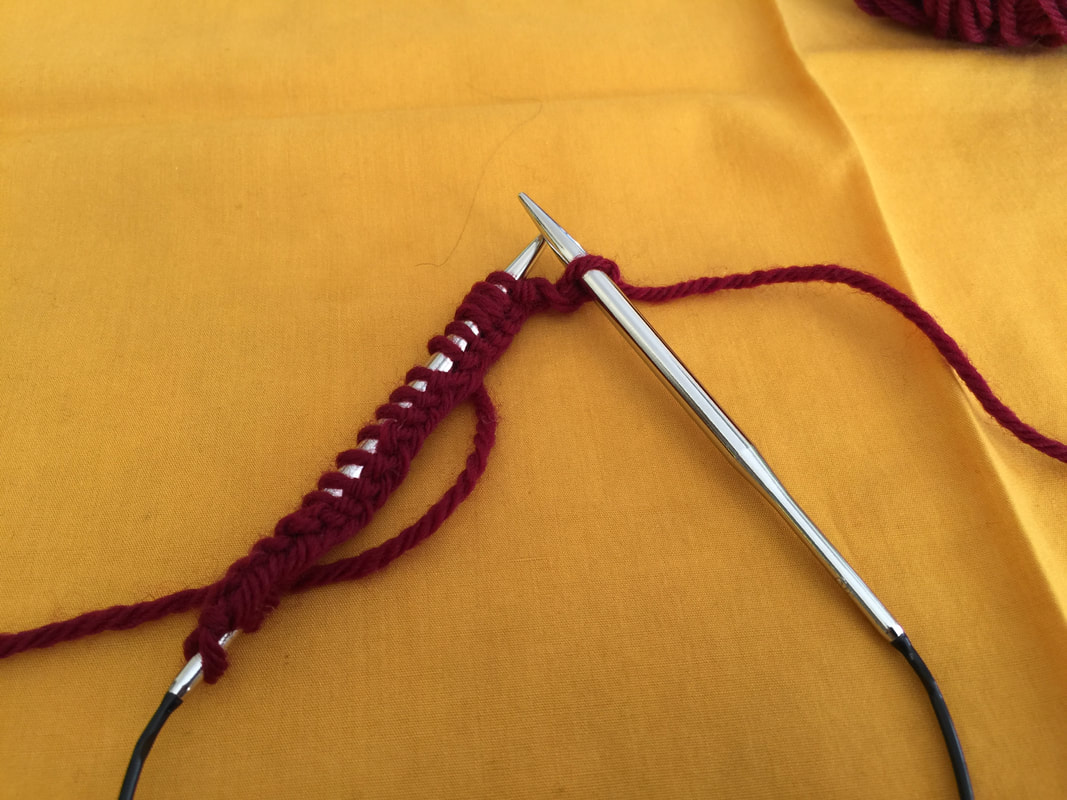
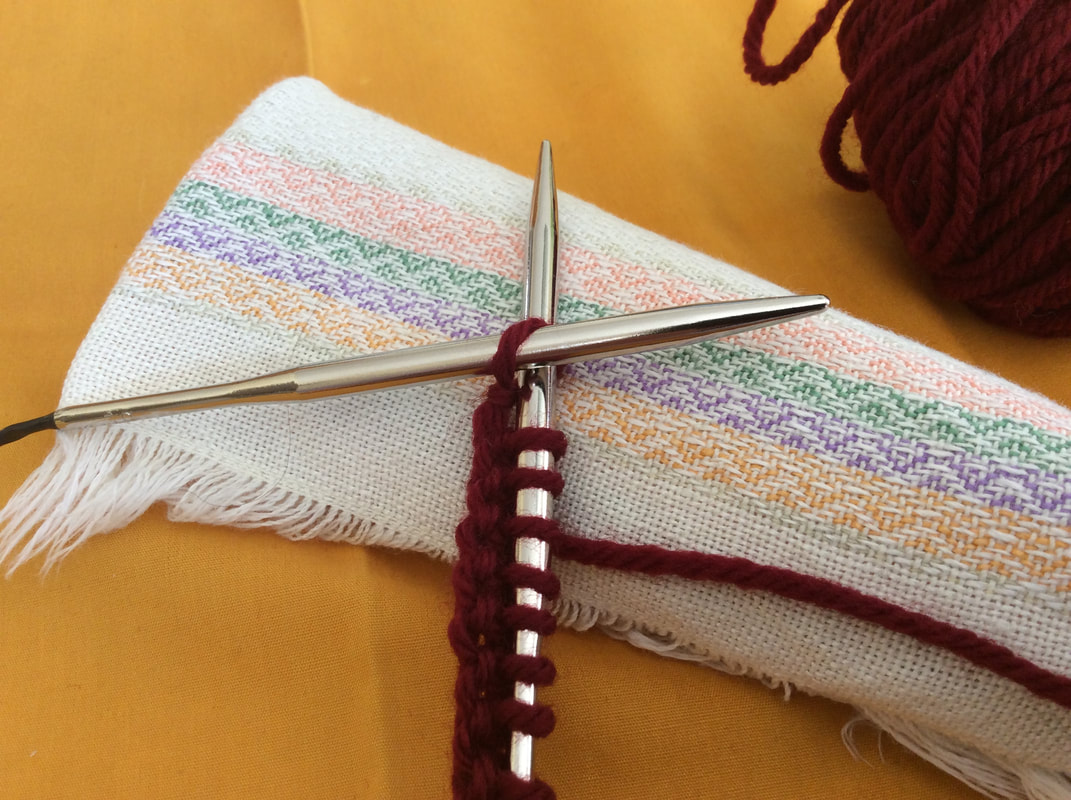
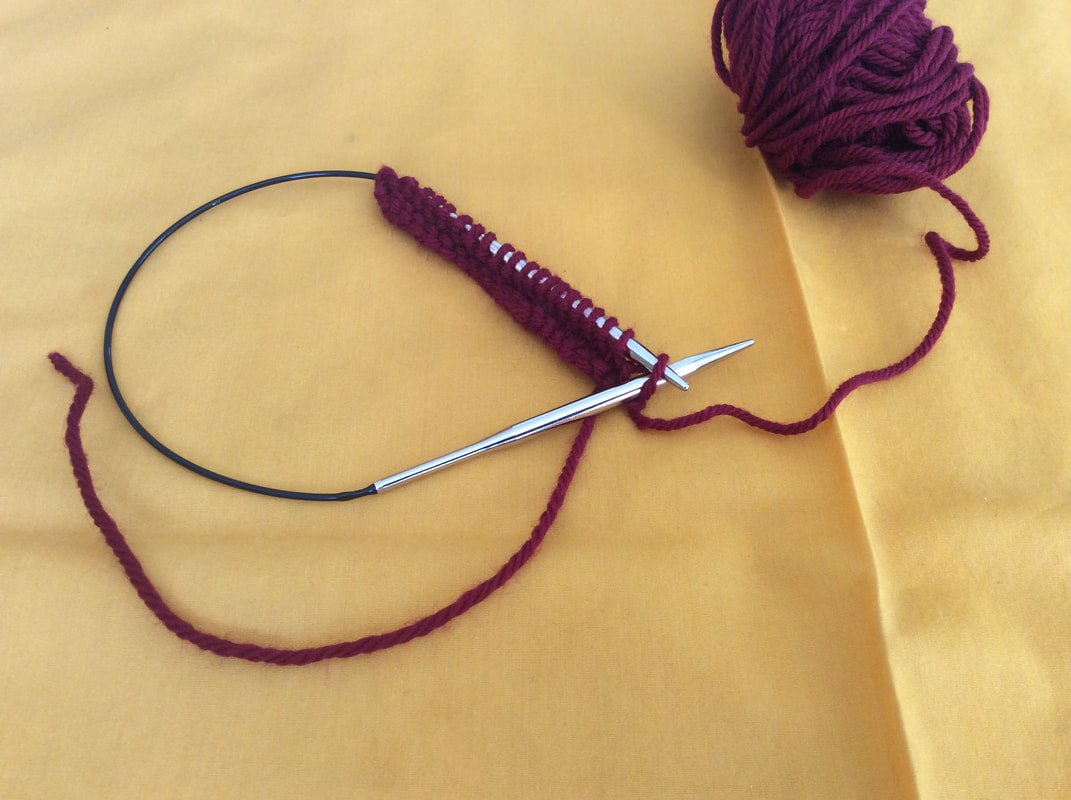
Starting from the left, you see the starting point, the 20 stitches that you have cast on.
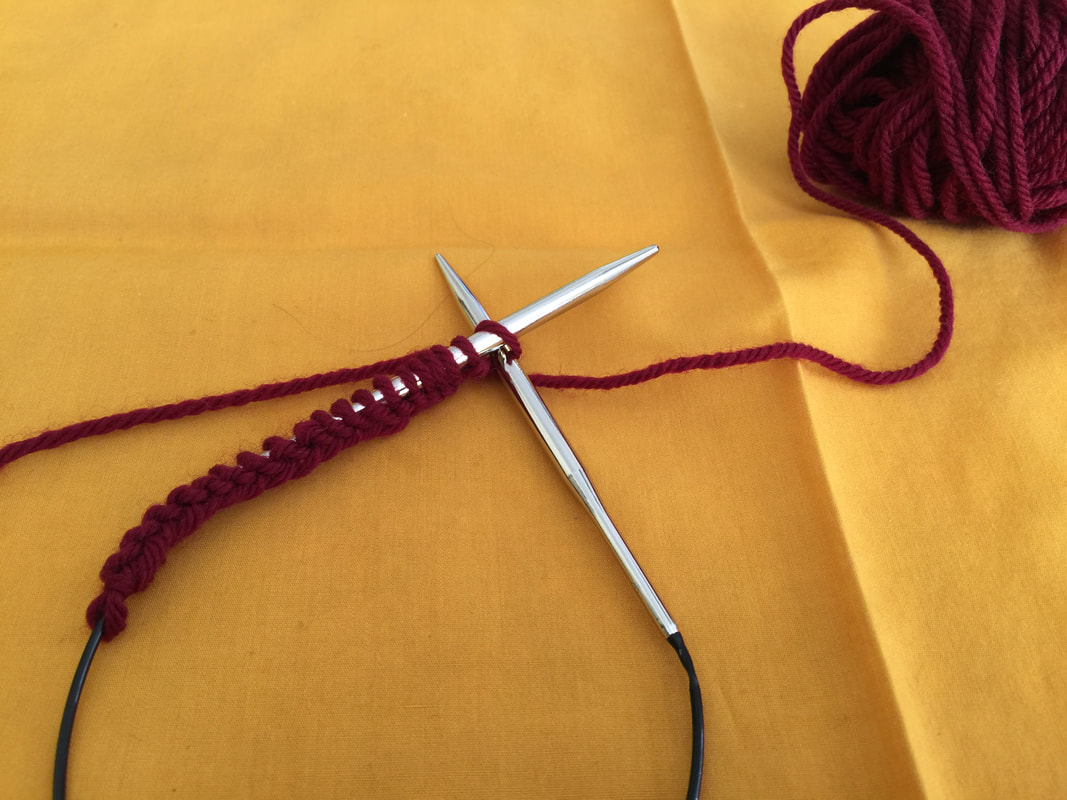
In the next picture, the circular needle has been turned. Hold your needle(s) in this position and insert the right hand needle into the first loop on the left needle.
Take the working yarn and put it over the right needle.
Now (4th picture) move the right needle to form a new loop up through the loop on the left needle. Slide the old loop off the left needle. This is one knit stitch.
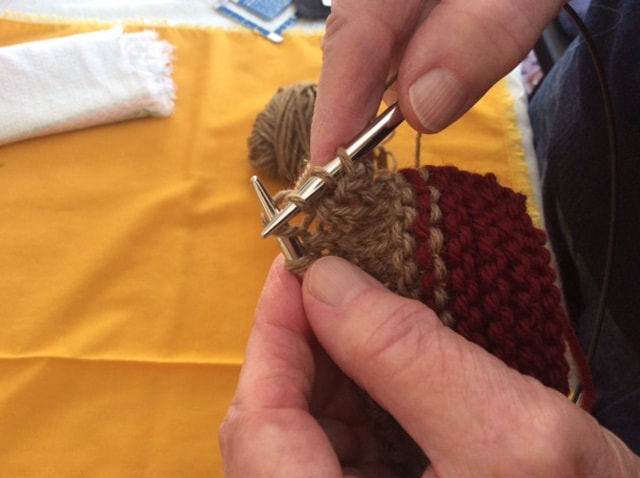
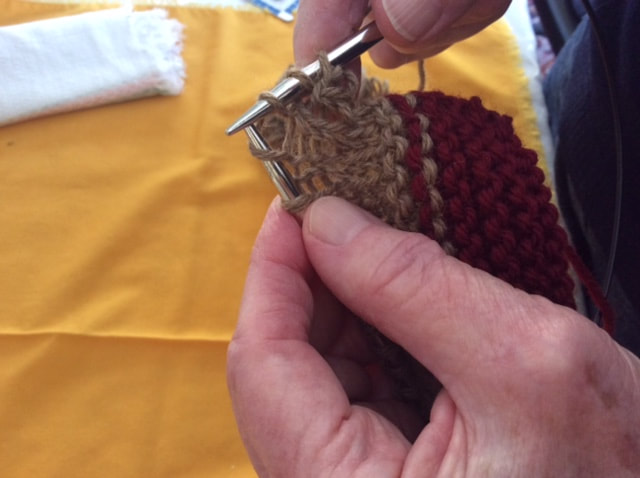
2. Look at the first picture next row of pictures to see another image of the process of forming a new loop and sliding the old loop off the needle. 3. Continue across the row making a new knit stitch and sliding off the old stitch. When you get to the last stitch of this first row, it is going to look slightly different because it is the slip knot you made at the very beginning. You need to be careful here that you insert the right hand needle into the knot itself and not into the space below it. The two center pictures below attempt to illustrate this situation. It may not be a problem at all. 4. Now that you have finished the first row, turn your needle around and knit the next row. See the picture at the right below.
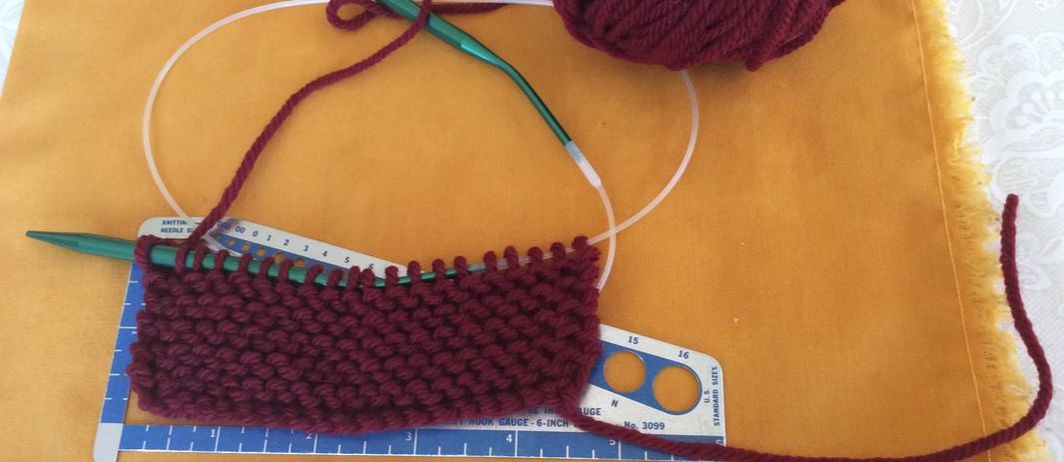
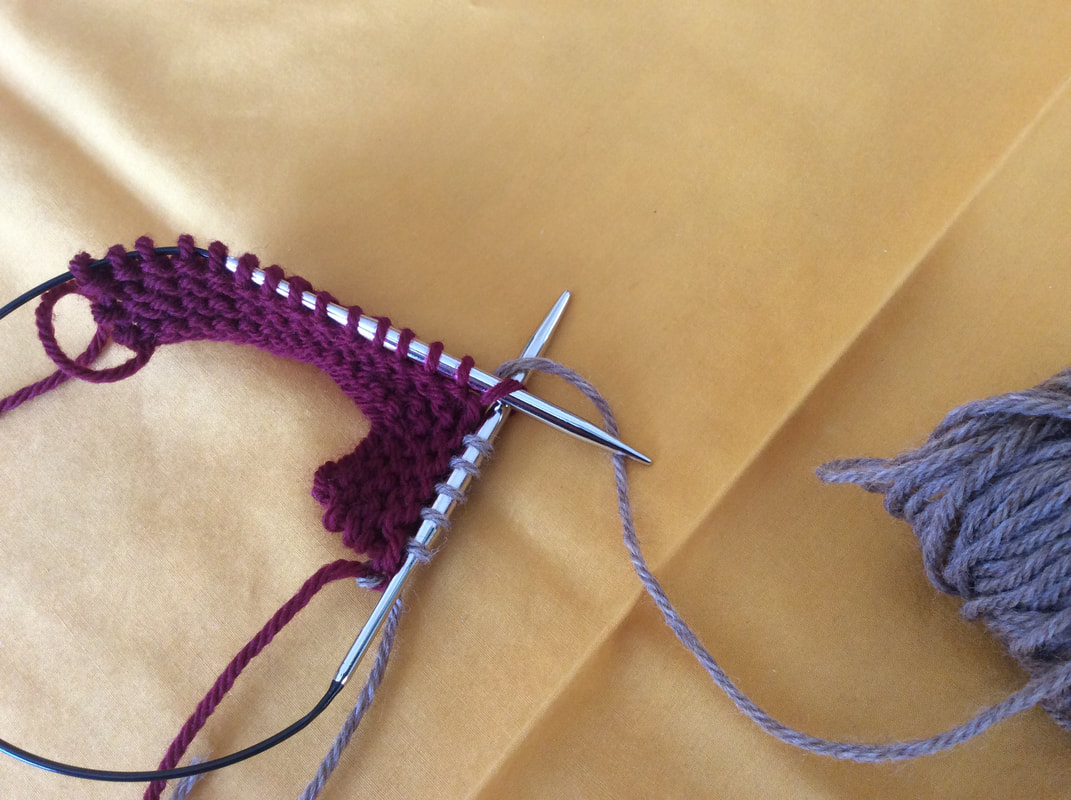
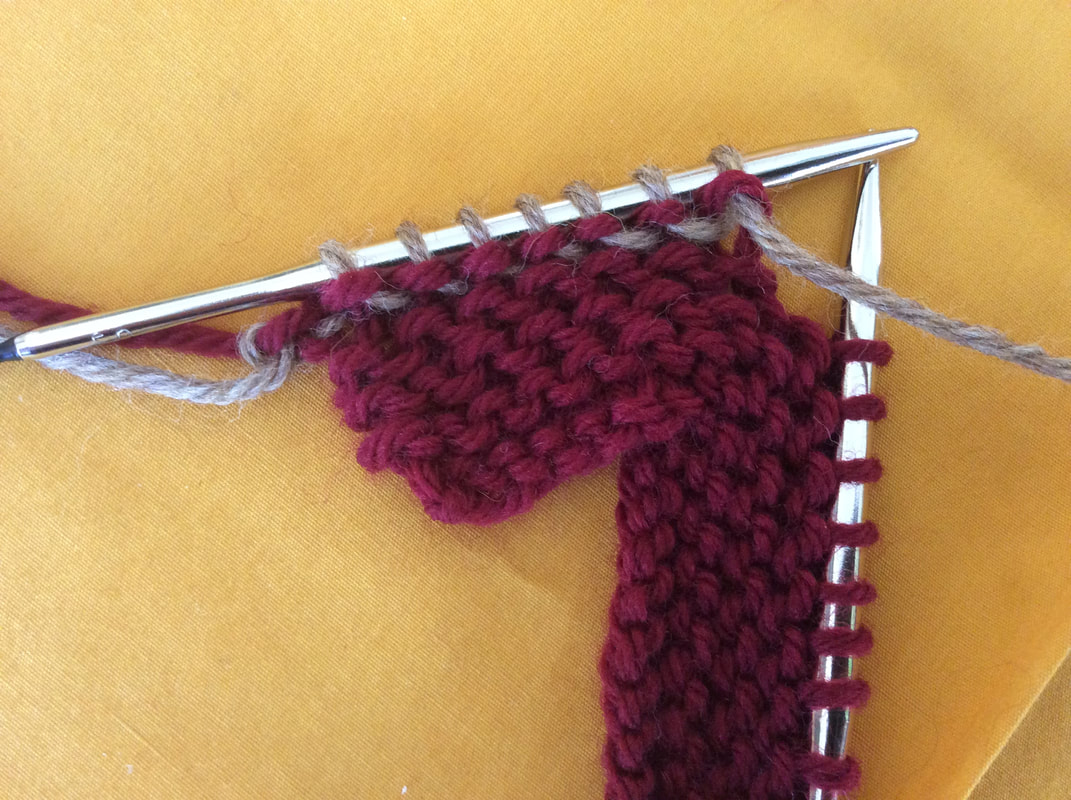
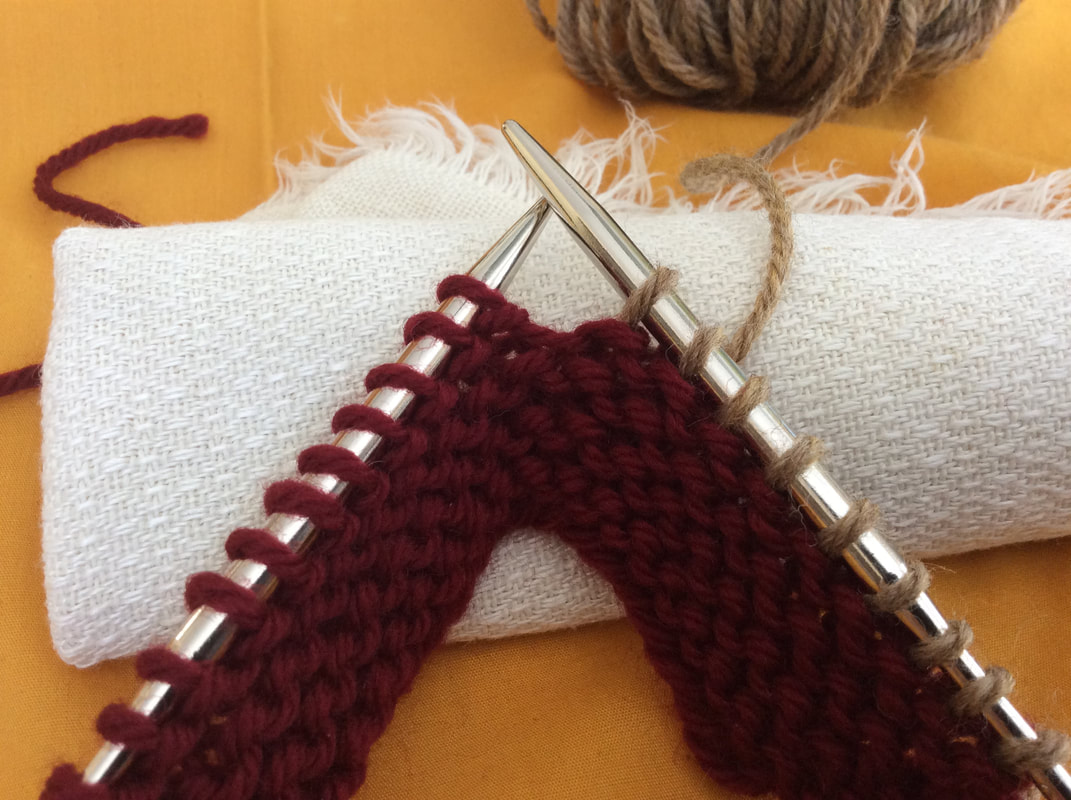
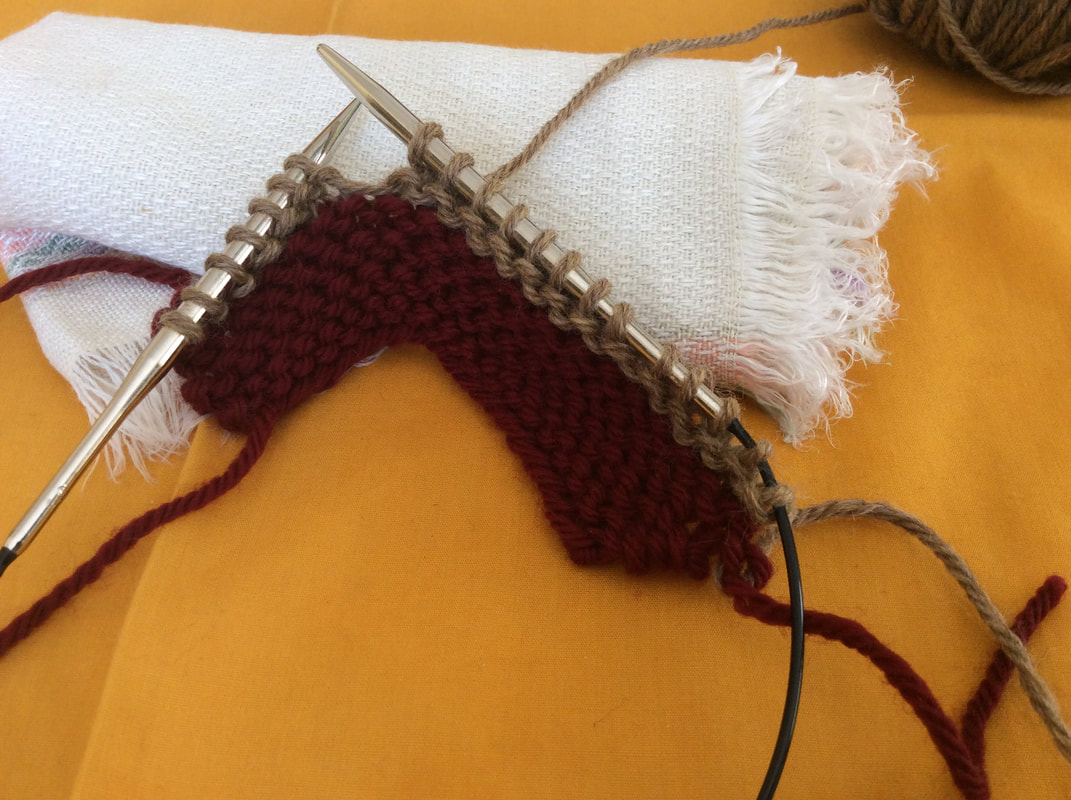
5. Notice what is happening on your work. As you continue to knit back and forth, notice that ridges are forming. Knitting back and forth this way is called garter stitch. In garter stitch ridges form on both sides. Two knit rows form each ridge. Look at the pictures below. I changed to a different color of yarn to make the ridge formation show up. In the 2nd picture from the left, I have shown the back of the knitting, where the working yarn comes from the last loop. Notice that a ridge forming there combines both yarns, the two colors. In the next picture, showing the other side of the work, you do not yet see the second color in a ridge. In the last picture, you see how a ridge looks on the front of the work after a ridge of the second color has formed.
Frequently Asked Questions:
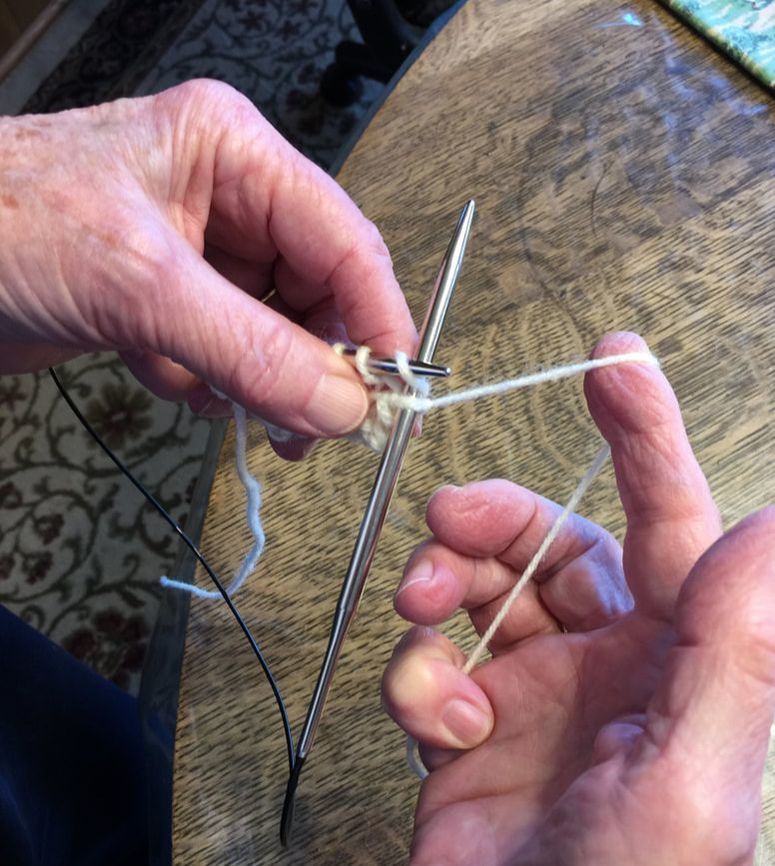
How do you hold the needles and the yarn? You need to find a way to comfortably hold the working yarn and manage the tension. You need to move the yarn as shown in the pictures above while setting it slide through your fingers gradually, and not too much. The picture below will show how I hold the working yarn. The pinkie finger of the right hand manages the tension, lets the yarn slide gradually, and not too much. The first finger of the left hand holds the knitted piece steady.