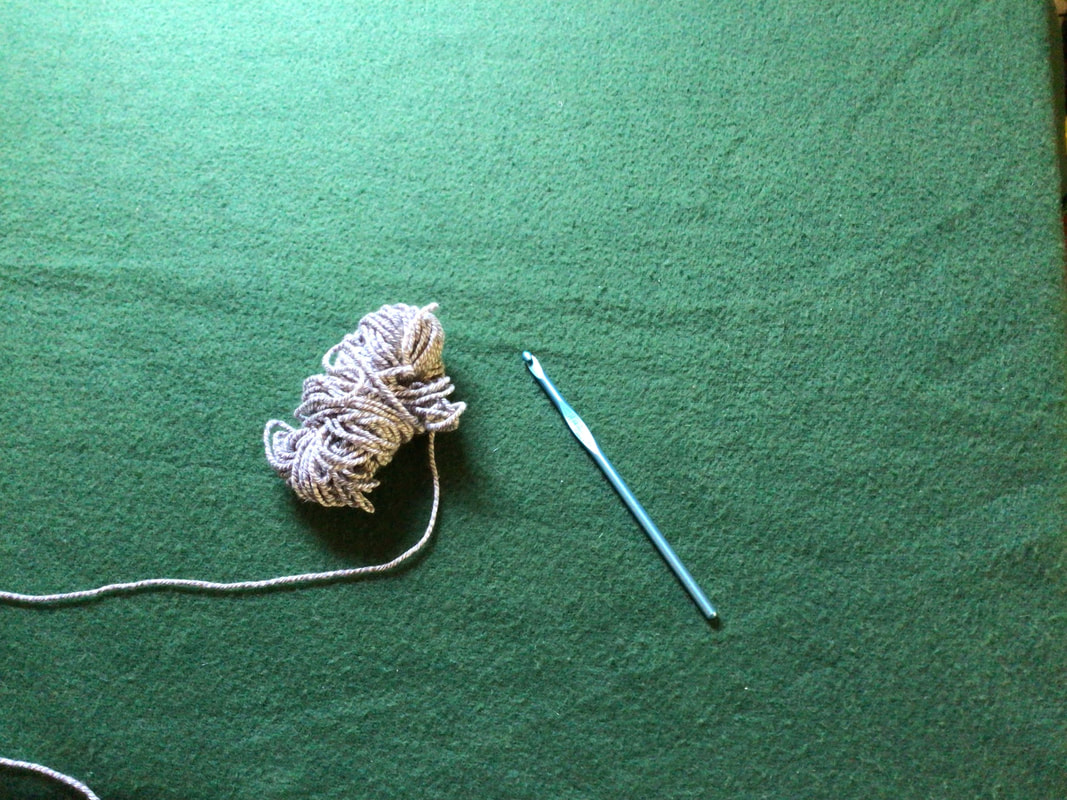
Loops are the starting point for both knitting and crocheting. They can be combined effectively in one project, as in adding a crocheted edge to a knitted project. On this page we will explain the steps in chain stitch and single crochet. Chain stitches are one way of providing the loops to begin a crochet project. On a knitted project a row of single crochet may be used to form a firm edge .
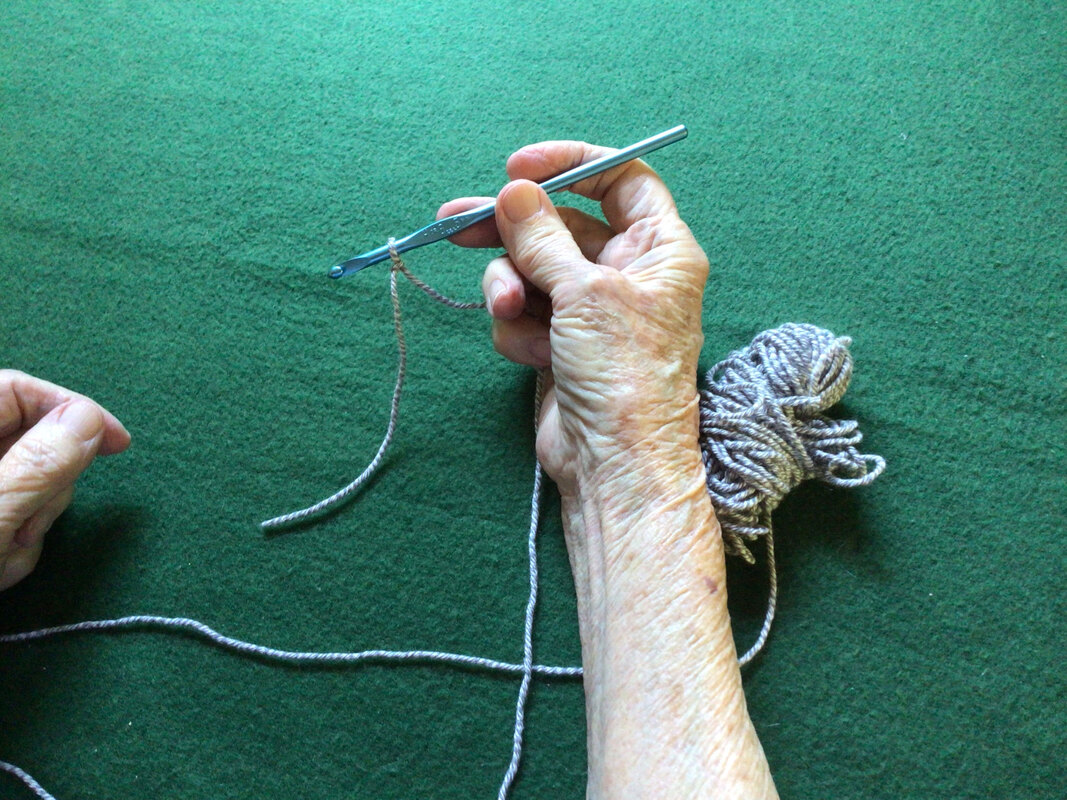
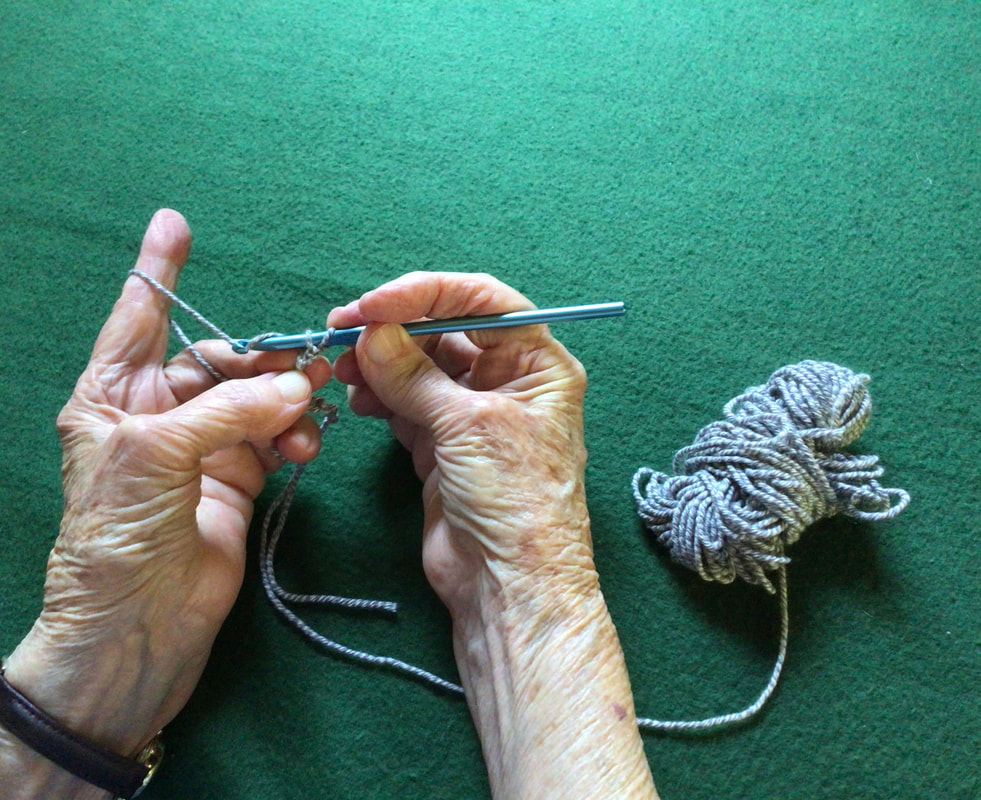
A first step in learning to crochet is figuring out how to hold:
A first step in learning to crochet is figuring out how to hold:
- the crochet hook
- the yarn and
- the finished piece.
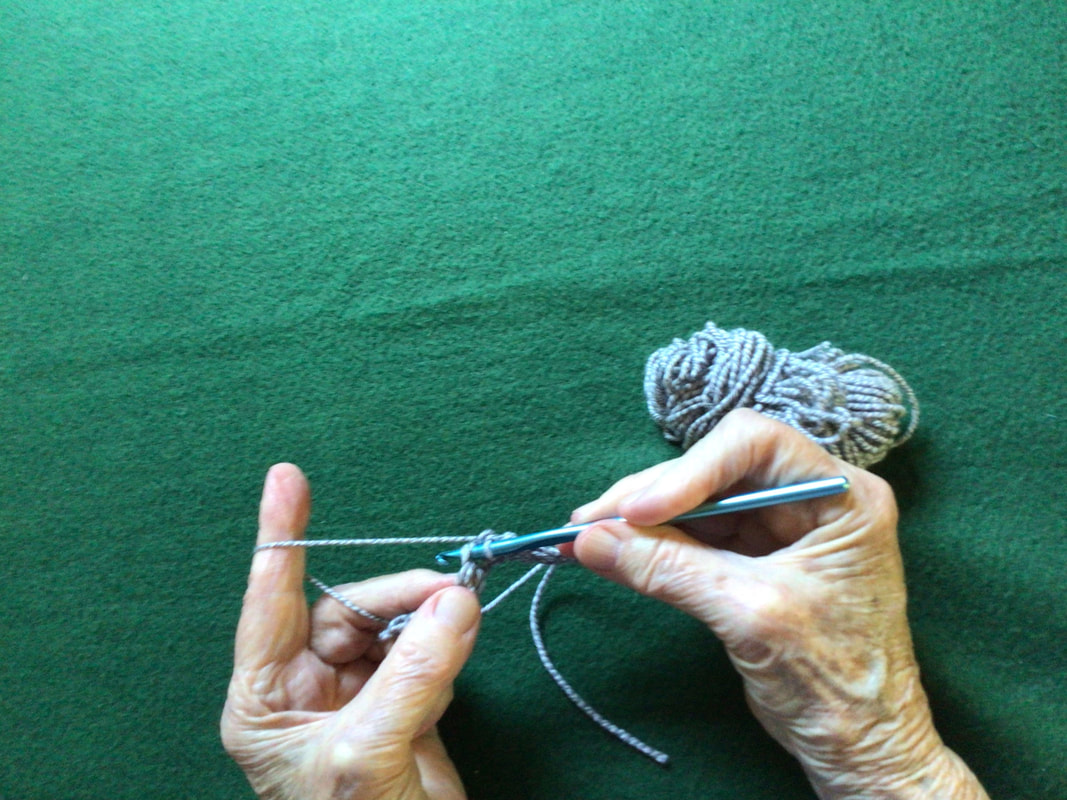
Photos by Strings Pics
Chain Stitch and Single Crochet
Step one
Starting with a slip knot, crochet a chain of loops. This is called chain stitch.
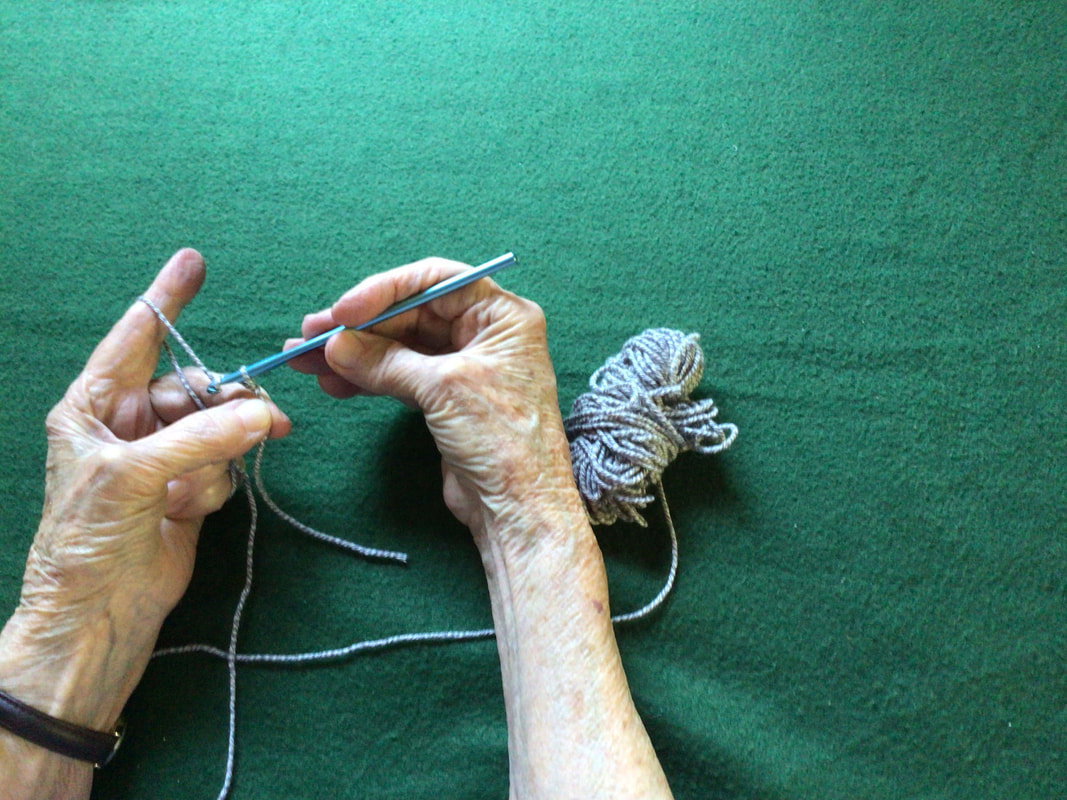
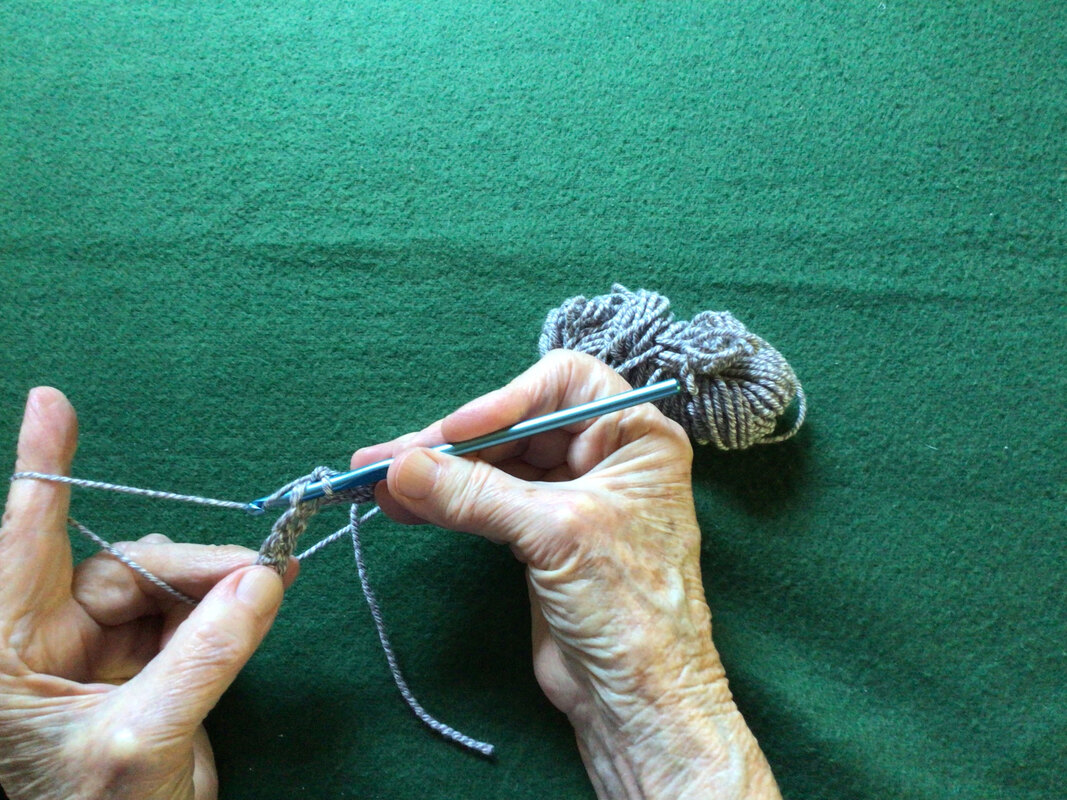
Step two
Skip the first loop from the hook, and insert the hook into the second loop. Wrap the yarn over the hook and pull it through the chain stitch creating a new loop above the chain. Now there are two loops on the hook.
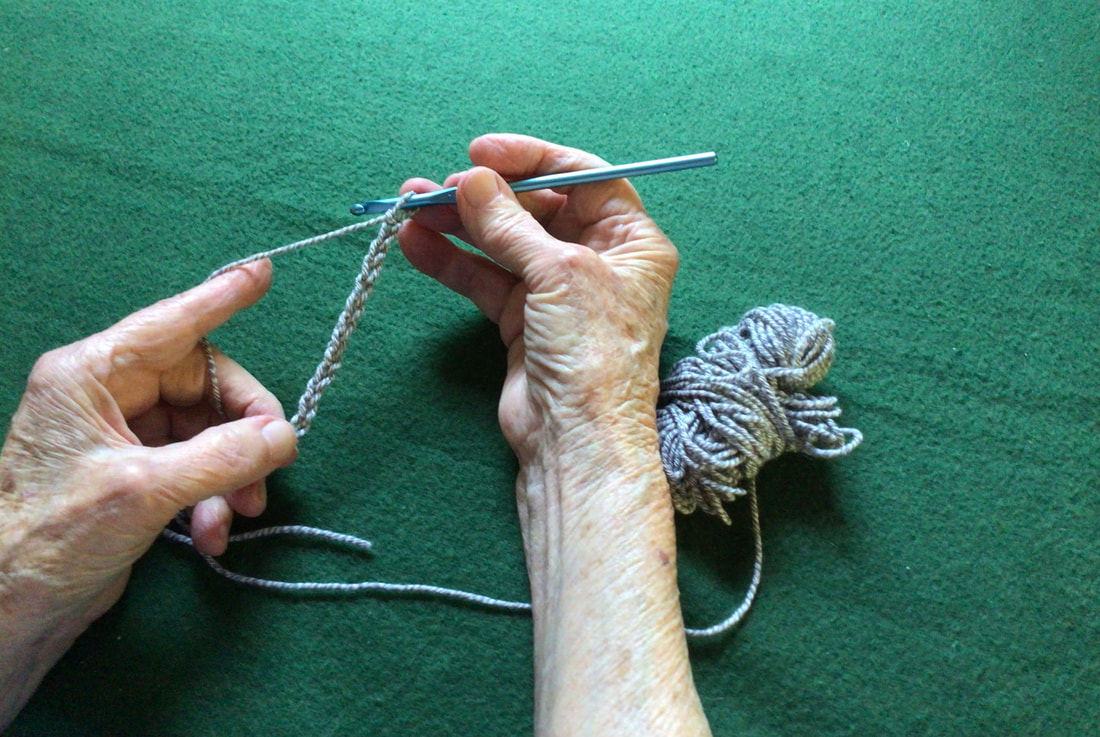
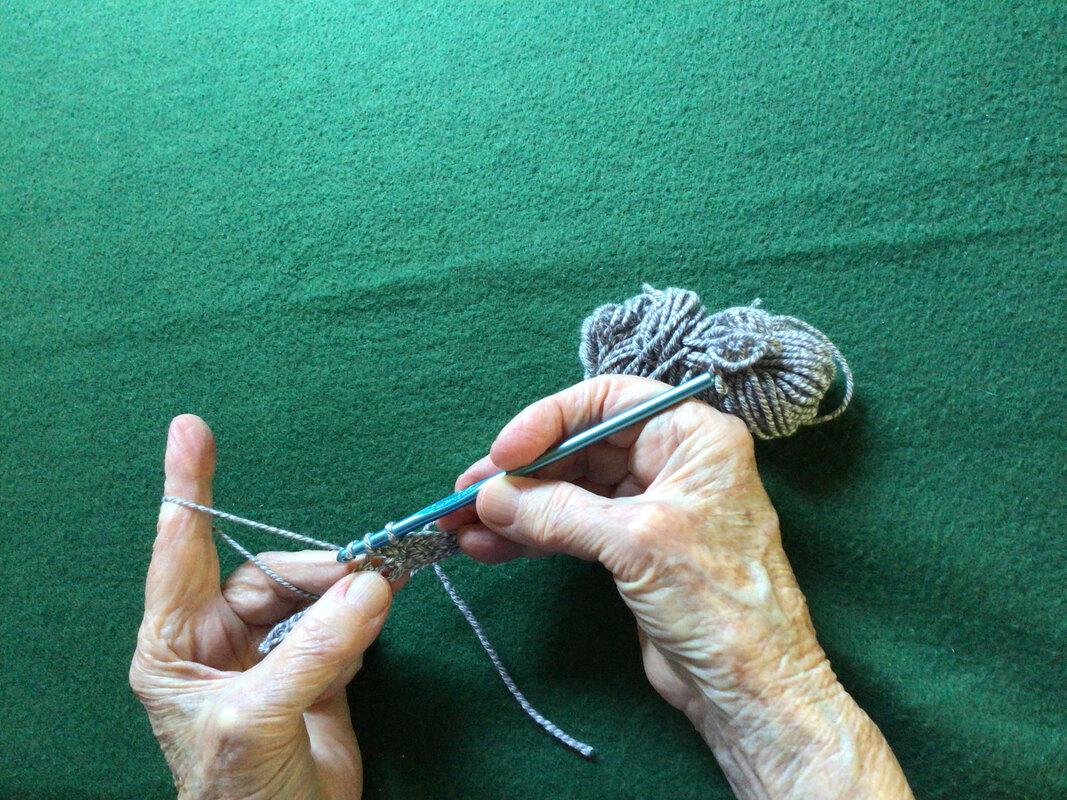
Step three
With two loops on the hook, wrap the yarn over the hook and pull it through both these two loops. This completes one stitch of single crochet.
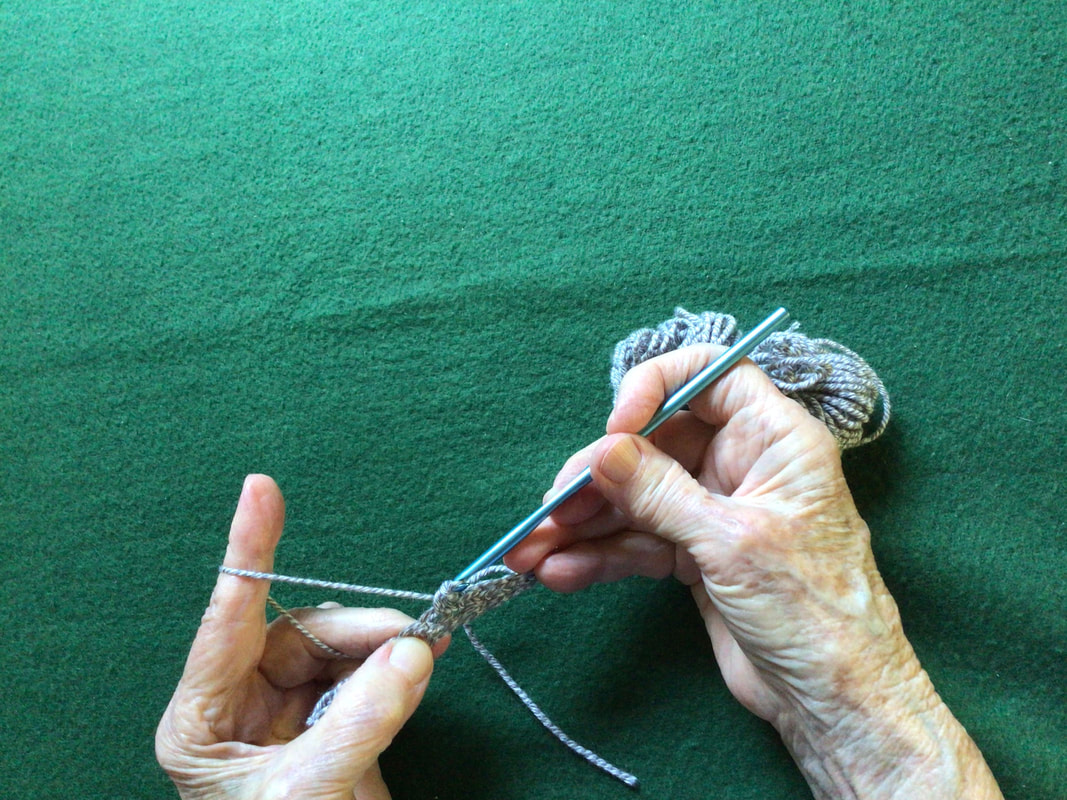
Continue
Repeat steps two and three along the chain. At the end of the chain, do one chain stitch, then turn and go back the other way, inserting the hook in the top of the single crochet stitches.
Starting with a slip knot, crochet a chain of loops. This is called chain stitch.
Step two
Skip the first loop from the hook, and insert the hook into the second loop. Wrap the yarn over the hook and pull it through the chain stitch creating a new loop above the chain. Now there are two loops on the hook.
Step three
With two loops on the hook, wrap the yarn over the hook and pull it through both these two loops. This completes one stitch of single crochet.
Continue
Repeat steps two and three along the chain. At the end of the chain, do one chain stitch, then turn and go back the other way, inserting the hook in the top of the single crochet stitches.
Although the instructions are brief and simple, managing to simply hold the yarn and the crochet hook can be difficult to master. The old adage "If at first you don't succeed, try, try again." is appropriate guidance.
